
Let’s face it: ever since COVID first sent us scurrying off to remote locations, video conferencing has become an indispensable tool for our industry. Zoom, Meet, Teams and the rest rank ahead of texting, conference calls, emails and even old-school phone calls. The ability to attend remote seminars, talk across oceans, illustrate problems, share screen shots, evaluate facial expressions and more is hard to beat.
According to technology guru Andrew Cardno, the CTO at Quick Custom Intelligence, “Desktop video has changed the world, and pretending otherwise is willful blindness. If you care about real communication, cameras should be on—period.”
But when trolling Chat GPT 5 this week, I found a disturbing statistic that said most video conferencing users fail to present their best image:
- Only 10–15% of users look about as good as they reasonably could on video calls
- Another ~25–35% look “pretty good” but still leave easy gains on the table
- The remaining ~50–60% have obvious, fixable issues (lighting, camera angle, audio, background)
You may recall the old proverb, “You never get a second chance to make a first impression.” If that’s true, it seems only 15% of us are making much of our “video” impressions. We’ve found that the issues below are common whether the participants are joining from the office, on the road, or from home.
If you look like Brad Pitt or Taylor Swift, forget these tips; just smile more. But for the rest of us, we need all the help we can get. While the steps below seem basic, clearly the stats (and my own observations from numerous Zoom sessions), say that quite a few of us DO need a refresher on those “basics.”
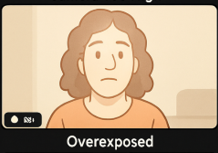
CAMERA QUALITY AND POSITION – Today’s cameras on the latest mobile phones and the new crop of laptops are remarkably good…but only if you keep them clean. If your recordings are hazy, overexposed or just look blurry, that’s probably a fingerprint, dust or dirt on your lens. Truthfully, when is the last time you cleaned them?
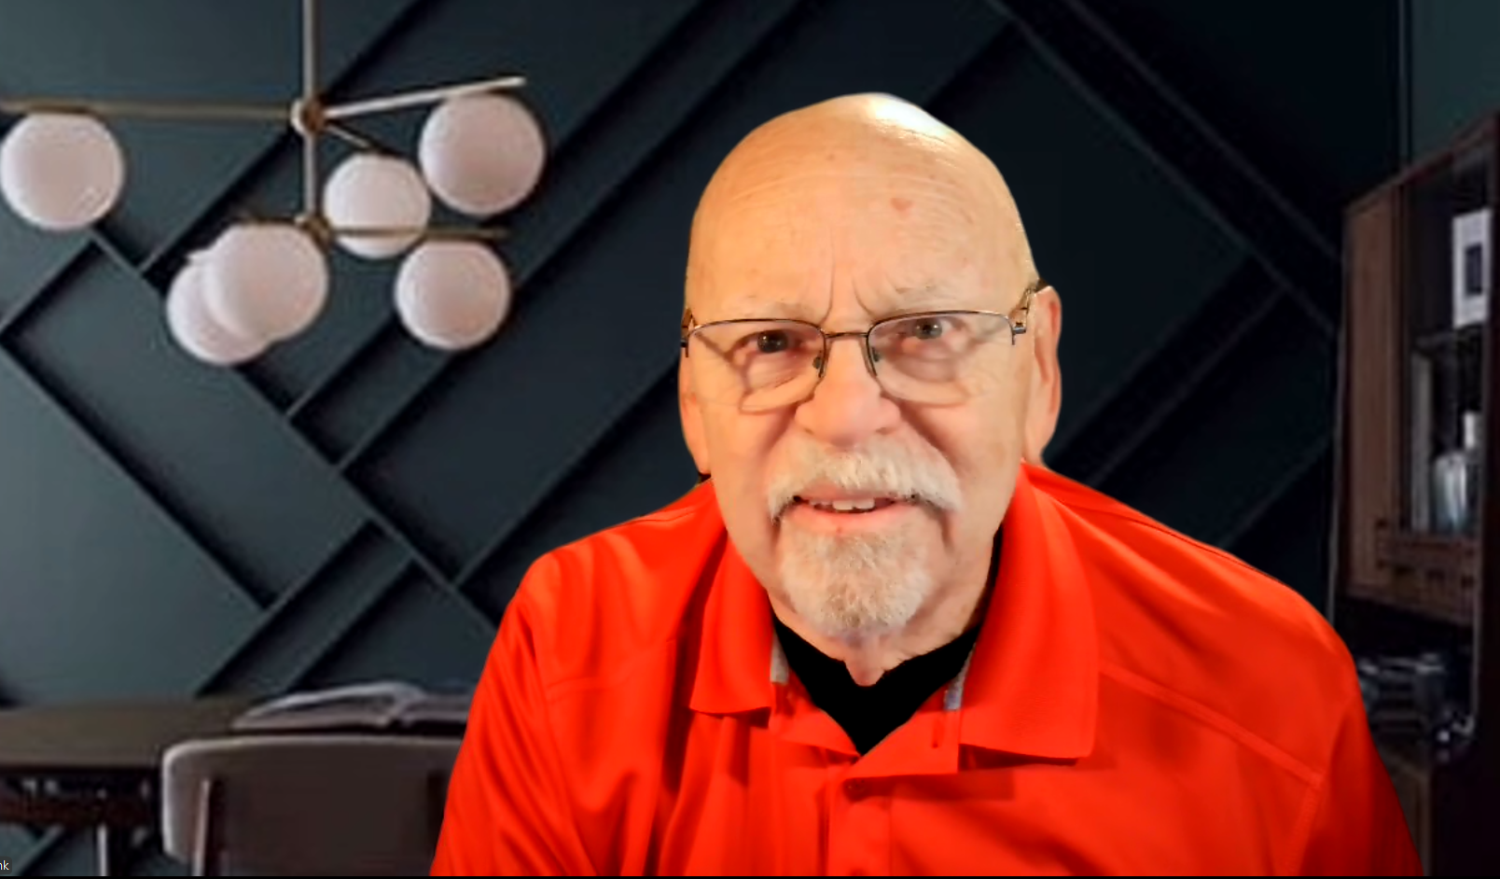
Camera position is another common error that can ruin your image. Once I turned 50, the hair on my head stopped growing. To compensate, Mother Nature doubled up on nose hair. Trust me, no one wants to see that. If you place your camera too low, you’ll also get an unflattering nostril closeup.
A common problem is that laptop users set their units on a desk and look down. That means the viewer is looking up at you. That’s never your best angle.
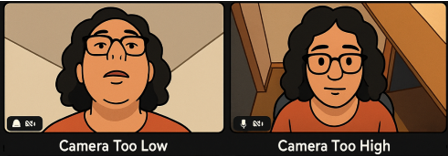
The solution is cost effective. Grabs some books, an empty Amazon box or your travel bag and make sure the laptop lens is at eye height or just slightly above. When people see your face straight on, it builds trust. It’s not just aesthetics, it’s psychology. Eye contact (even virtually) matters.
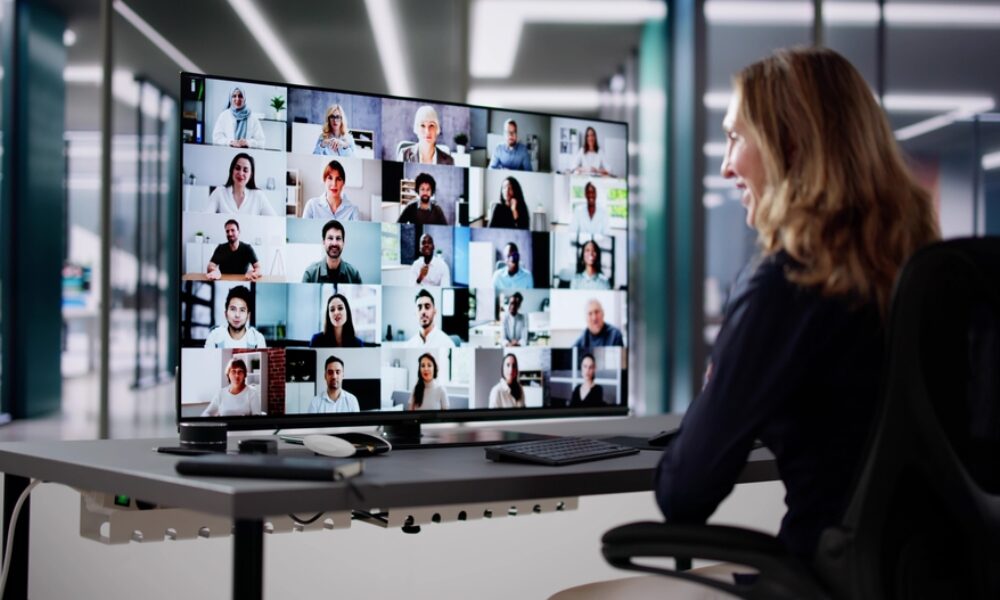
The opposite problem occurs with a camera mounted too high. If you look at the first photo of this story, you’ll see the young woman in front of a large monitor which is ideal for major conference calls. But if your camera sits on top of that screen, you’ll often get a down shot with the lens too high which is also distracting. However, in the photo, she is sitting quite high with her eyeline at the top of the screen to correct that problem. But this creates another issue, since she will have to look down to observe many of the other attendees. A camera mounted in the middle of her large monitor is the solution.
I highly recommend investing in one of the new “center” units that puts the camera in the proper place on a slender stalk that can move or fold out of the way. Smaller laptops don’t have as many problems, but these camera stalks still can improve your look.
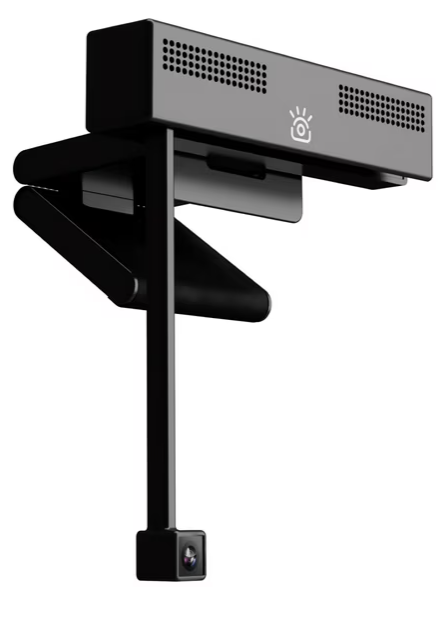 I’ve tested three or four of these, and all are great improvements. My favorite is the one shown called iContact, because it is so easy to fold up after a session. Others like Center Cam and IPEVO are also good. Most are $200 or less and easy to install. They give a great frontal view that is ideal. The V4K Pro from IPEVO is excellent too and can double as a camera for demonstrations or adding documents on the desktop. Again, make sure all these lenses are clean.
And don’t forget to adjust the camera position. Photographers use the “rule of thirds”.

Public relations pro Paul Speirs-Hernandez, who teaches communication techniques to clients of his Red Wagon Institute, says, “We call it framing and encourage students to get their eyeballs on the top third line. Every newscast and almost every TV show puts the eyes in that position, and once you see it, there’s no un-seeing it.”
We have all probably seen that person on Zoom whose chin is stuck on the bottom of the screen or their forehead is chopped half-mast at the top.

Even a great camera (in the proper position) will have problems if your lighting is poor. Indirect sunlight can be great (except after sunset). But it is also tricky to get just the right amount of light. Too much sun, especially from behind, is another common error on video conferencing. It is called “backlighting,” and it can be overwhelming.
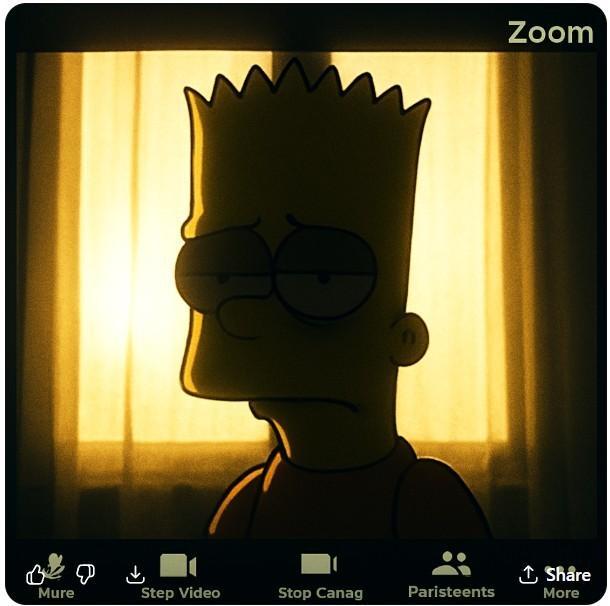
This isn’t Bart Simpson since he is protected by copyright. However, it is probably one of Bart’s relatives who has a sunlit background that is too strong (thank you, Matt Groening).
We highly recommend using LED modeling lights, even if you have a good source of indirect sunlight. You can find these on the internet from round halo units to individual accent lights. I use two rechargeable lamps mounted five inches above my eyeline on opposite sides at 45 degrees. Some subdued natural light from behind (or a third LED light) is ideal. Even more lights are better. Many good units are in the $30 to $40 range.
Once you have mastered a good image, you need to consider your audio. In a recent Scientific American article (Aug 2025), a research study found that “poor audio quality consistently causes listeners to negatively judge speakers…even if the message (from all subjects) was exactly the same.” In other words, your audio quality is important.
Almost all cameras (including expensive ones) have built-in microphones. From my experience, none of them are very good. Most have a problem with dynamic range, which drops some of your high and low vocal tones.
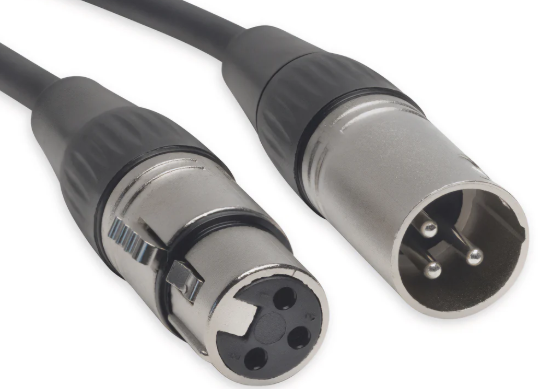
The fix is to buy a separate microphone. There are many on the market that are far better than camera or laptop units. They plug into your audio or USB jacks and range from $30 to $200. (Note: you might want to buy one with both a USB and a 3-Pin XLR connectors in case you later upgrade to one of the audio interface units mentioned below). Mics with dual outputs are about the same price as those with a single USB connection.
Audio latency can also be a problem. That’s when your sound is slightly out of synch with the video. Often it is barely noticeable, but nonetheless, it gives the listener a strange sense that something is off with the speaker.
You can reduce some latency by making sure that all the other apps on your computer, especially those running in the background like Google, system backups, weather, clocks, etc., are shut down.
For the best audio, you need to add an “audio interface” unit between your mic and the computer. These run from $50 to thousands of dollars. Unless you’re a highly paid podcaster, smaller home units from MOTU, Focusrite and Zoom are ideal. They range from $200 to $400. When combined with a good microphone and an XLR cord (eXternal Line Return), the difference in audio quality is amazing.
QCI’s Cardno added, “Audio and video quality aren’t ‘nice to have’ anymore; they are your brand. During COVID, one of my most trusted advisors told me, ‘Andrew, your Zoom image is undermining you.’ He was right. The casual T-shirts are gone, my office now runs six lights and a low-latency audio system, and the results are undeniable. In a video-first world, how you show up is how you’re judged—whether you like it or not.”
Spiers-Hernandez also stresses the importance of image. “When you’re doing a conference call, you’re at work. Dress for it.”
Another upgrade you may need is a stronger internet provider. Dropouts and frozen screens (including that dreaded spinning wheel symbol) are sure signs that you definitely have a “need for speed.” With Starlink available in the boonies, and fiber or 5G everywhere else, you should easily find a source with 100mbs or (preferably) faster.
In your video settings (discussed below), you should choose HD for High Definition. However, if your internet is weak on the road, unchecking this box will improve your connectivity, but comes with some reduced clarity.
If you blew your budget on Christmas last month and will have to save up for camera, lights and sound improvements, there are still some improvements you can make with a minimal budget (disposable lens cleaners are a great example).
Speirs-Hernandez has an even easier tip, “Simply sitting up is something most people don’t do. Slouching sends a negative message to the viewer and impedes your breath. Sitting up makes you look more confident and aligns your spine, opens your lungs, and allows you to project more naturally.”
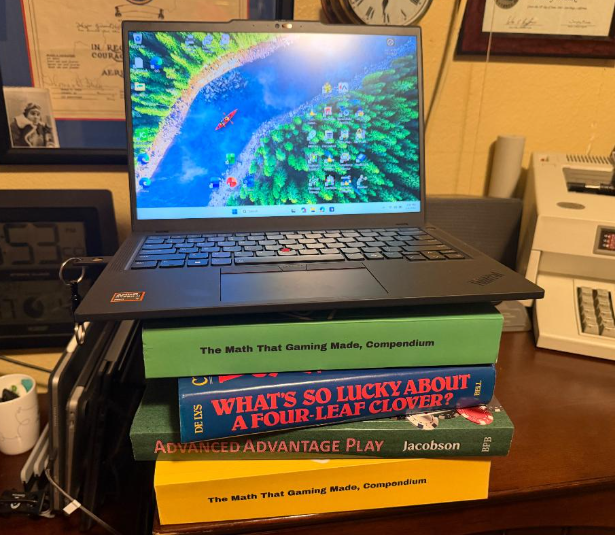
A virtual background is another good option. My office (shown below) often looks like an episode of “Hoarders” and can be distracting.
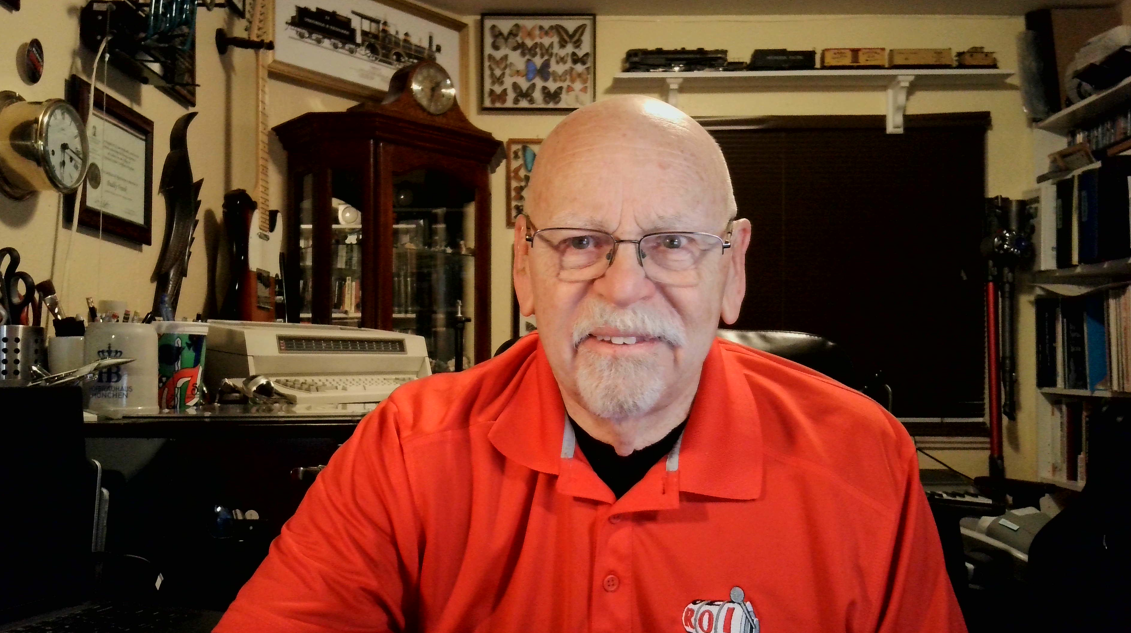
You can easily replace that mess with a virtual background like the image below. They are all over the internet and many are free.
If you’re serious about a professional look, you can buy a custom background with a business logo from vendors like Virtual Office, Design.com, Walldrop and others.
The simplest option to hide your surroundings is the “blur” effect that is standard on most conferencing software. While they certainly eliminate distractions, they often look unnatural. A better option is to use the “Portrait” mode in your video settings. This reduces the depth of field by slightly blurring your background yet leaving you in focus.
All those virtual backgrounds work best if you have a “green screen” behind you. However, those can be cumbersome and are not recommended for most casual users. With good lighting, you’ll do fine without the screen. Just make sure your clothing color doesn’t turn parts of your body into the invisible man.
Finally, optimize your video settings. You can buy software on the internet for professional video enhancement. However, most conferencing apps have free tools included. I mentioned “portrait” mode above, but you can also adjust for low light, brightness and contrast. You’ll find “virtual makeup,” hair enhancements, eyebrow shading, digital lipstick and other goodies to eliminate wrinkles. You can also add numerous special effects.
Some of these are terrific, but you’ll need to experiment to find what works best for you. Don’t forget to save setup time by clicking the tab that says to use the selected options each time you log on.
I would avoid using avatars or simply turning off your video feed altogether during calls. The latter may give others the impression that rather than listening and participating, you are really playing Minecraft.
Of course, if you are having a bad hair day, or had a rough time at Fight Club last night, these might still be your best last-minute options.
Finally, the “video filters” can be amusing, but I think you’ll probably agree that the look below is not going to enhance your professional industry standing.

But then again, maybe using this look for me is “about as good as I reasonably could”?
Hopefully, with these tips, the rest of you can make it into that top 15% group.
# # #